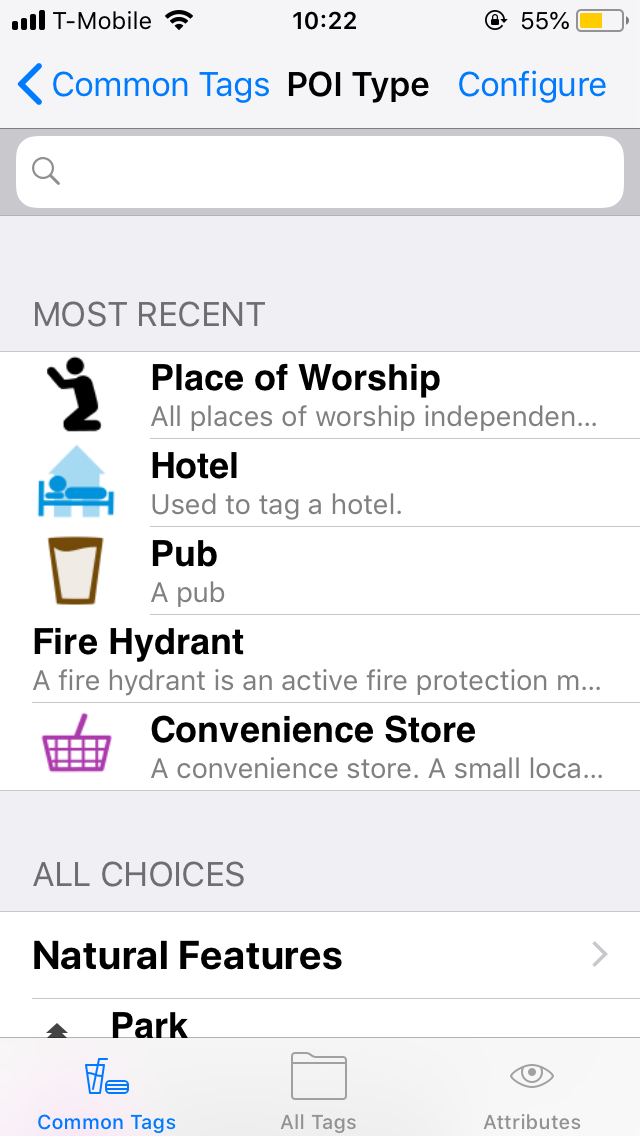
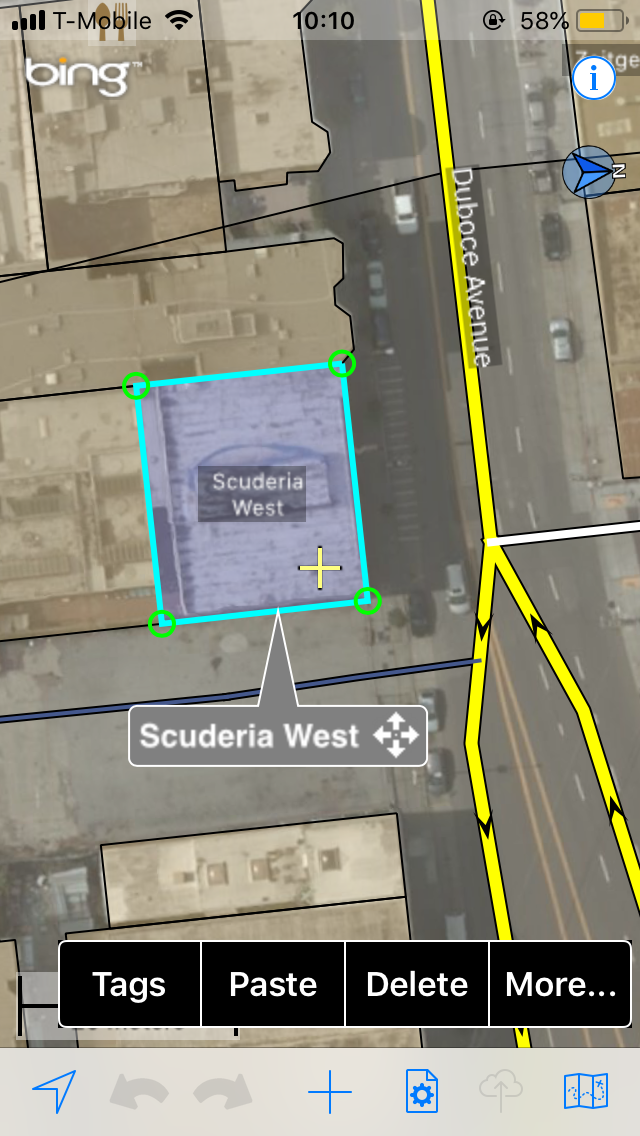
The short video above shows how to edit in two scenarios – adding information to an entry and adding a point-of-interest. The text below is a mashup of my experience using it and the app’s help section.
Getting started
Activate location services on your device. The first time you open the app, it asks to use your device’s GPS to determine your location. Hit “OK” to zoom to your position and download satellite and OpenStreetMap (OSM) data. You’ll need a free OSM account to edit the map, register online or from inside Go Map!! in “Settings”.
If you’re in a densely mapped area it can take a few moments to download; in a sparsely mapped area you’ll need to zoom out to see details. To pan around your immediate surroundings, pinch to zoom in or out and drag to move. Go Map!! automatically downloads additional data as needed as you scroll around your location.
Feature overview
- Settings. Two key things are here: the OSM login/signup and the “Prepare for Offline” option, to download Bing and/or Mapnik tiles for offline use. You can also scroll around an area you plan to visit: the Bing, Mapnik and OpenStreetMap data is cached and will be available even without connectivity. Once you’re back to civilization, upload as usual.
- Display. Choose your map – Editor for the OSM layer or Editor with Aerial (more detail but also more noise – see below.)
- Editor
- Editor with Aerial
How to create, modify and tag a point-of-interest
Saving and uploading to OSM
Save each change you make (top right button on the Tags page). When you’re finished making changes to the map, send them to the OSM server by hitting the Upload (cloud) button. A pop-up screen will ask for a changeset comment – that way the OSM community has a record of what you did – it can be as simple as “added a website.” Once you’ve committed the changes, they are permanent.
The app automatically populates the box with your most recent comment – helpful if you’re adding a lot of the same POIs. Hit “Commit” and you’ll get an “Upload complete!” message that returns you to the map.
Troubleshooting
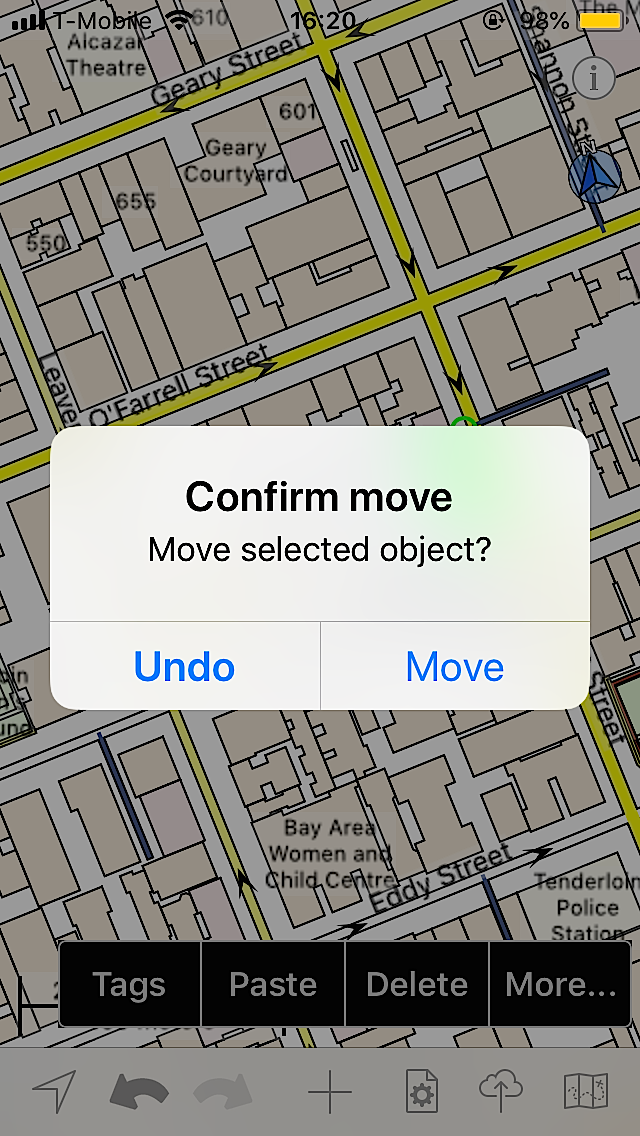
- Errors If you make a mistake, the “undo” button is your friend. It’s the arrow pointing left on the menu bar and highlighted in blue every time you initiate a change. The app also has a second sense for fat fingers and asks to confirm if you move an object. (In the example at left a building was moved.) Remember, once your data is uploaded to OSM, you can’t change it.
- Speed If the app is sluggish, you may have downloaded too much data. Go to Display, scroll to “Clear Cache” > “Clear OSM data.”
- Uploads
If your upload fails because of a version conflict or another reason, email the OSM change file (“osmChange.osc”) to yourself from the changeset window to fix offline.


